How to Use IMX462 CSI-2 Cameras with Raspberry Pi
Setting up the IMX462 CSI-2 camera on Raspberry Pi is simple and well documented on our wiki pages. The exact steps vary slightly depending on the Raspberry Pi model, but all follow a similar pattern.
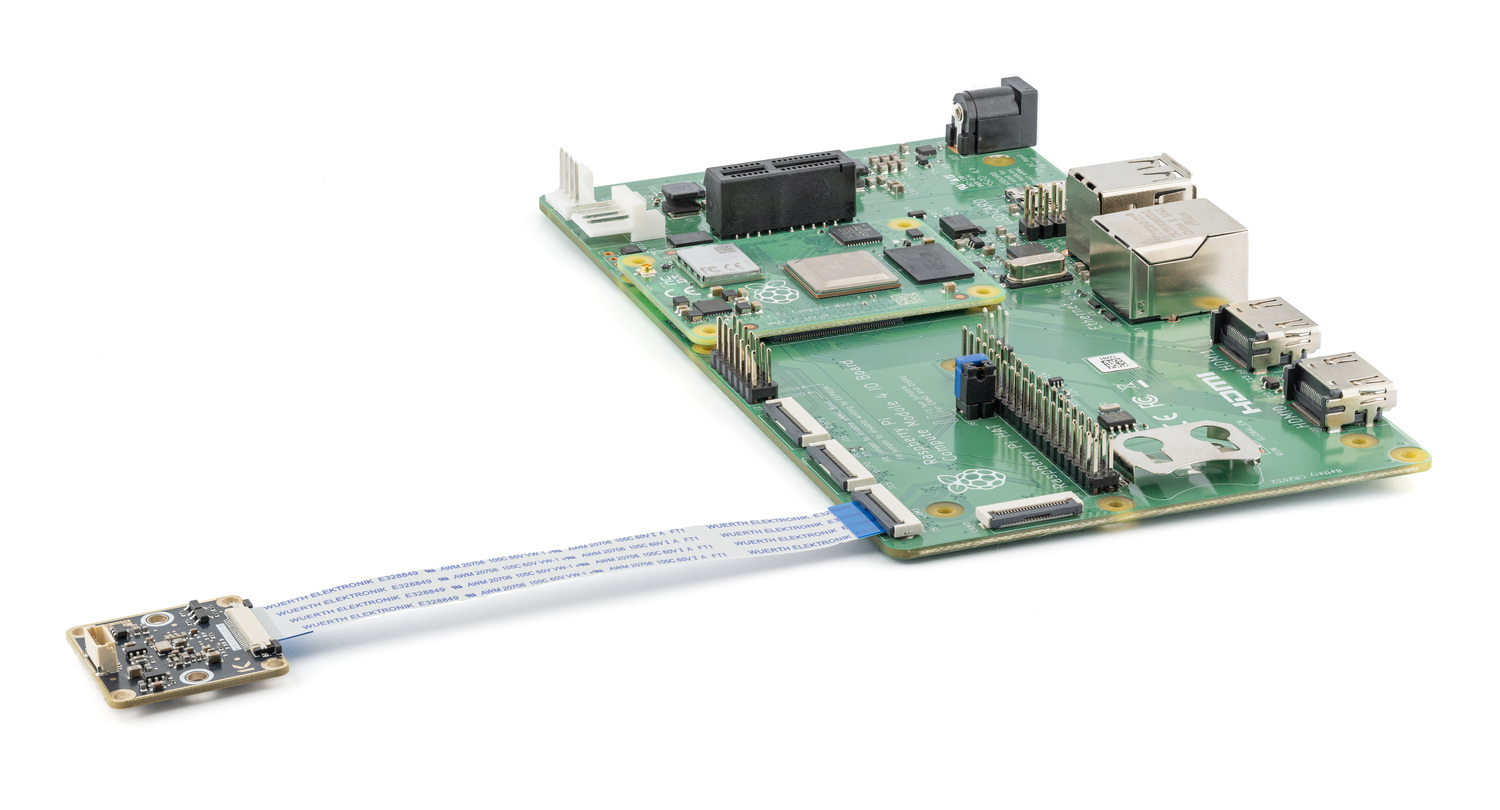
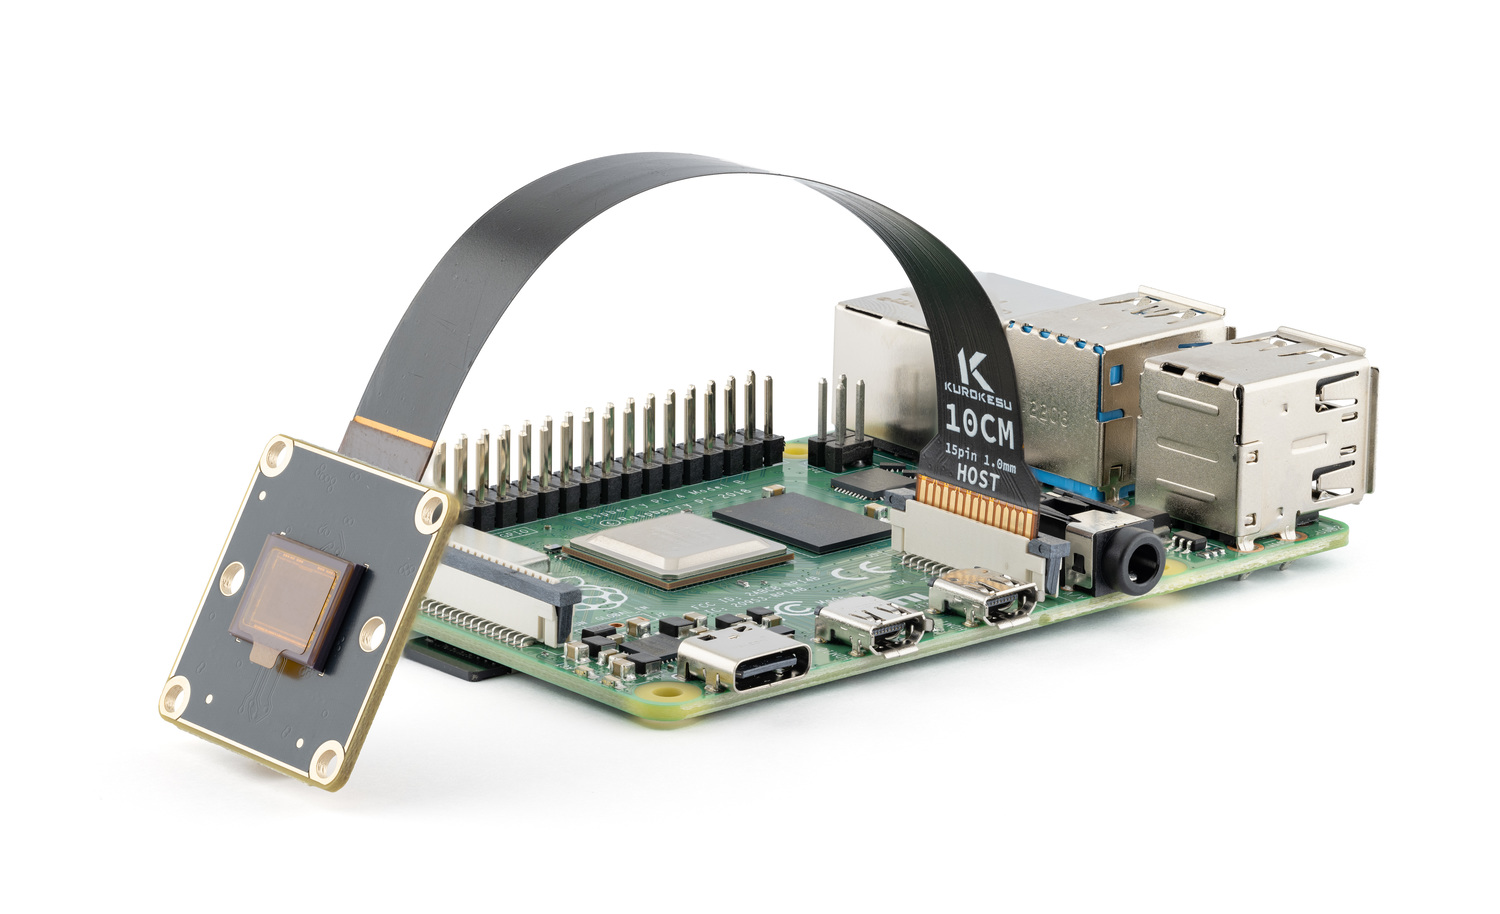
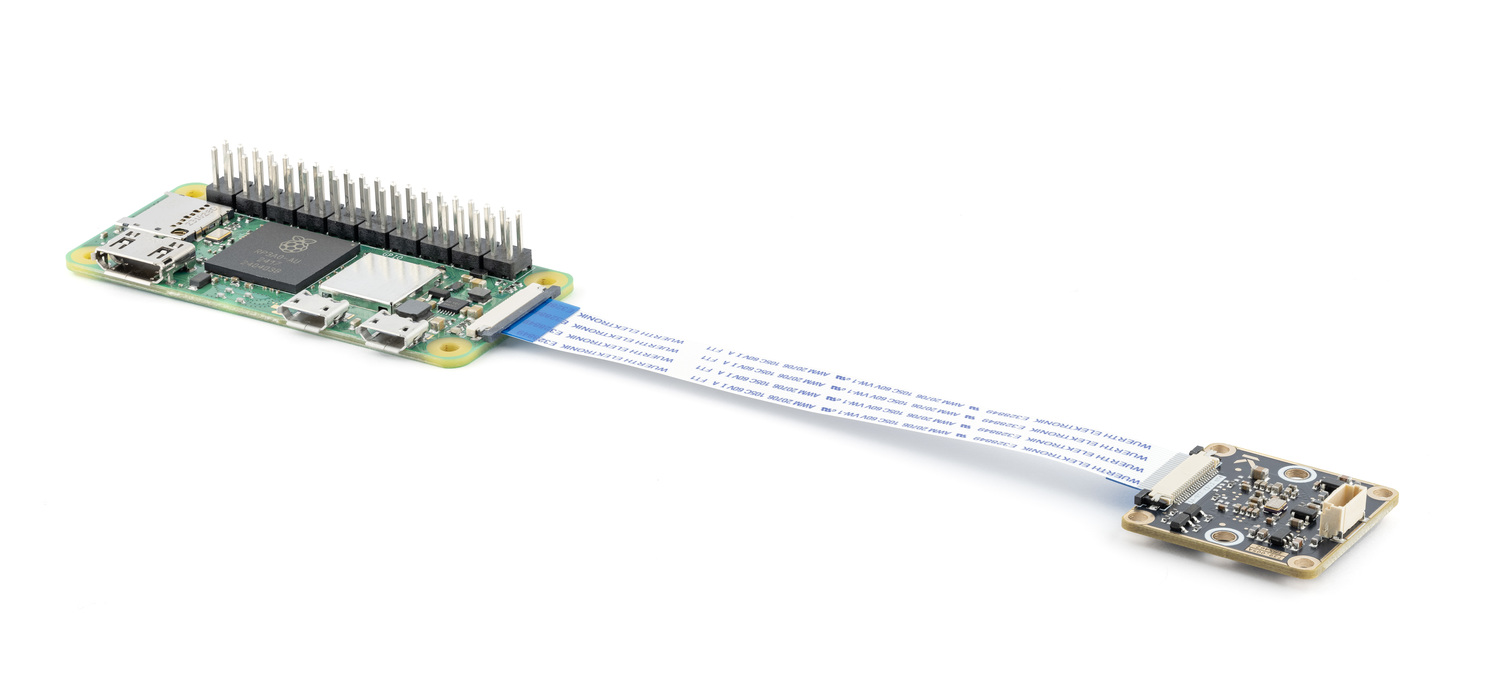
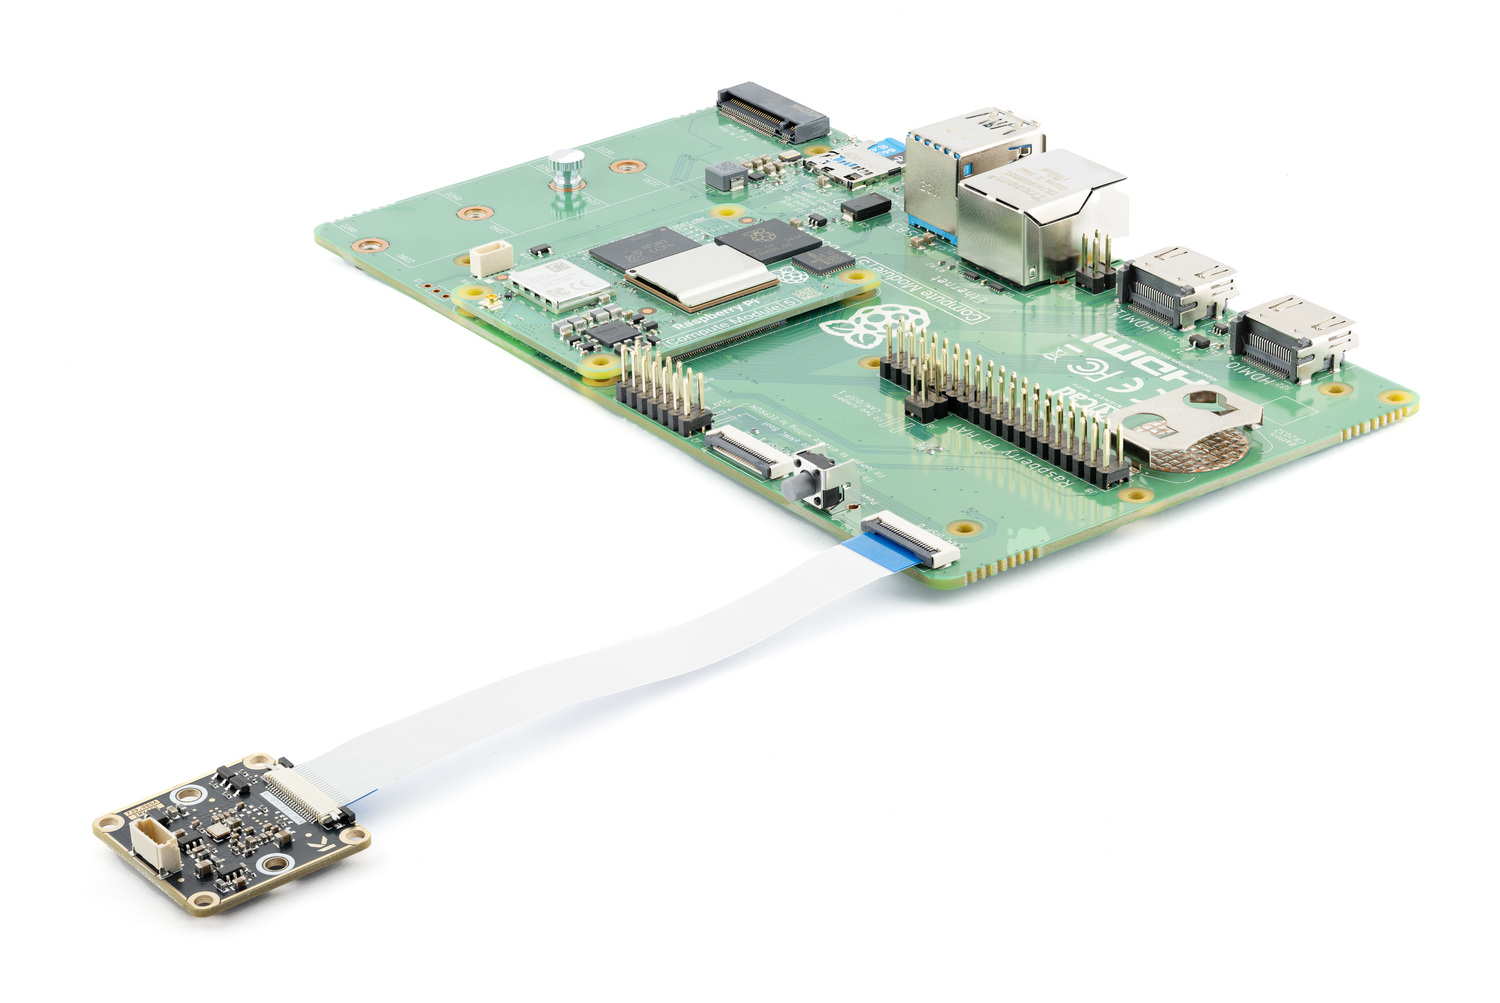
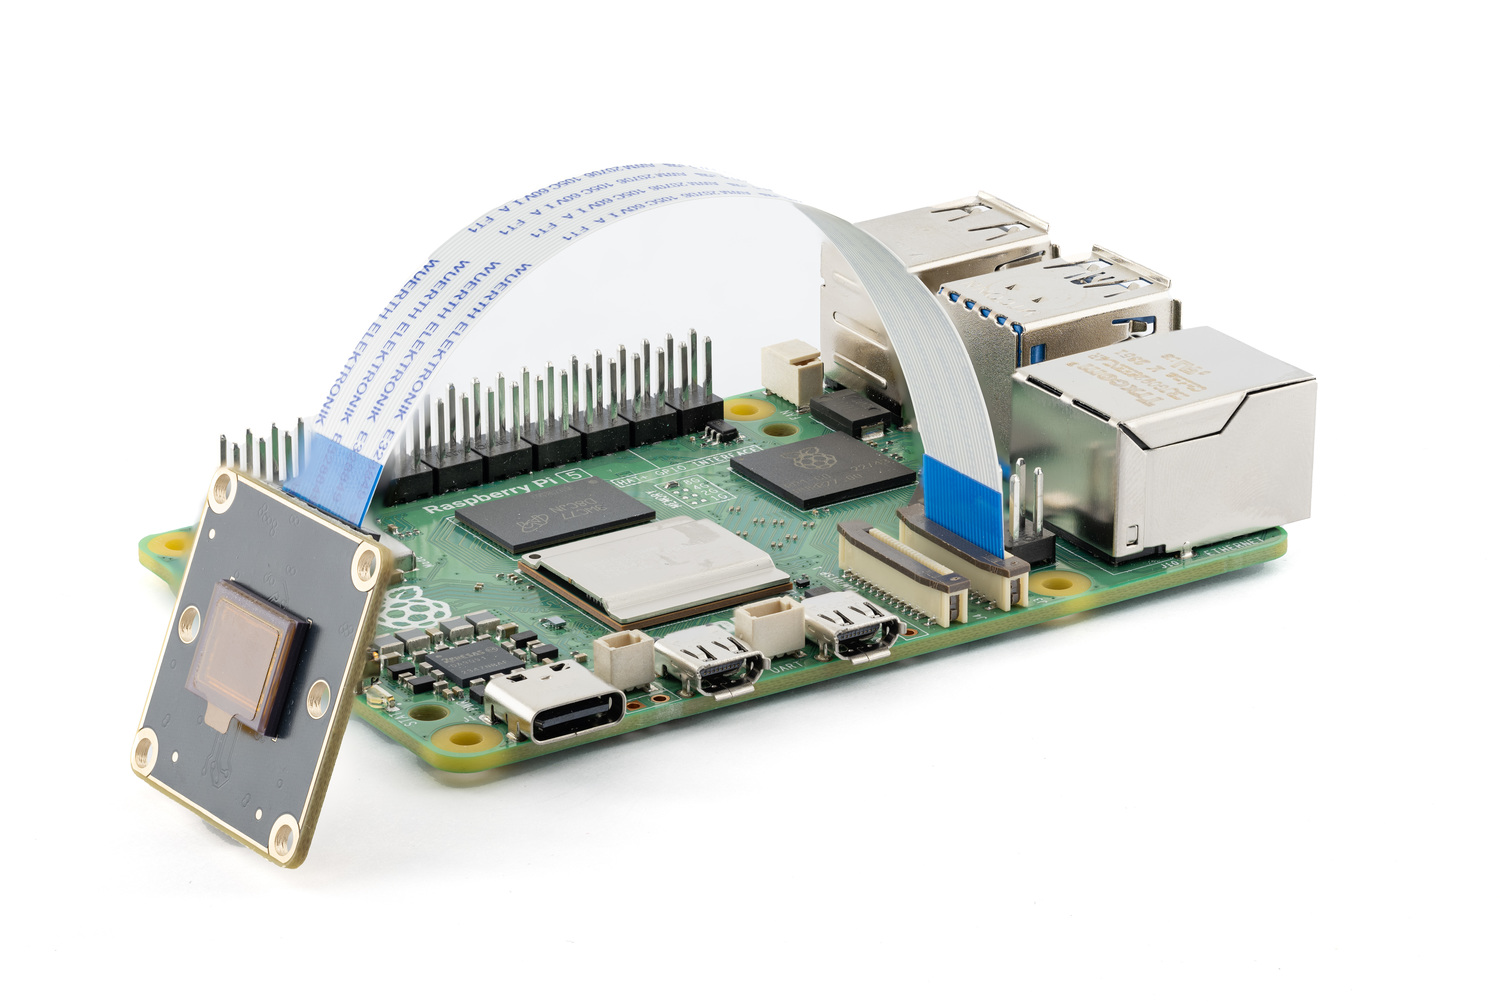
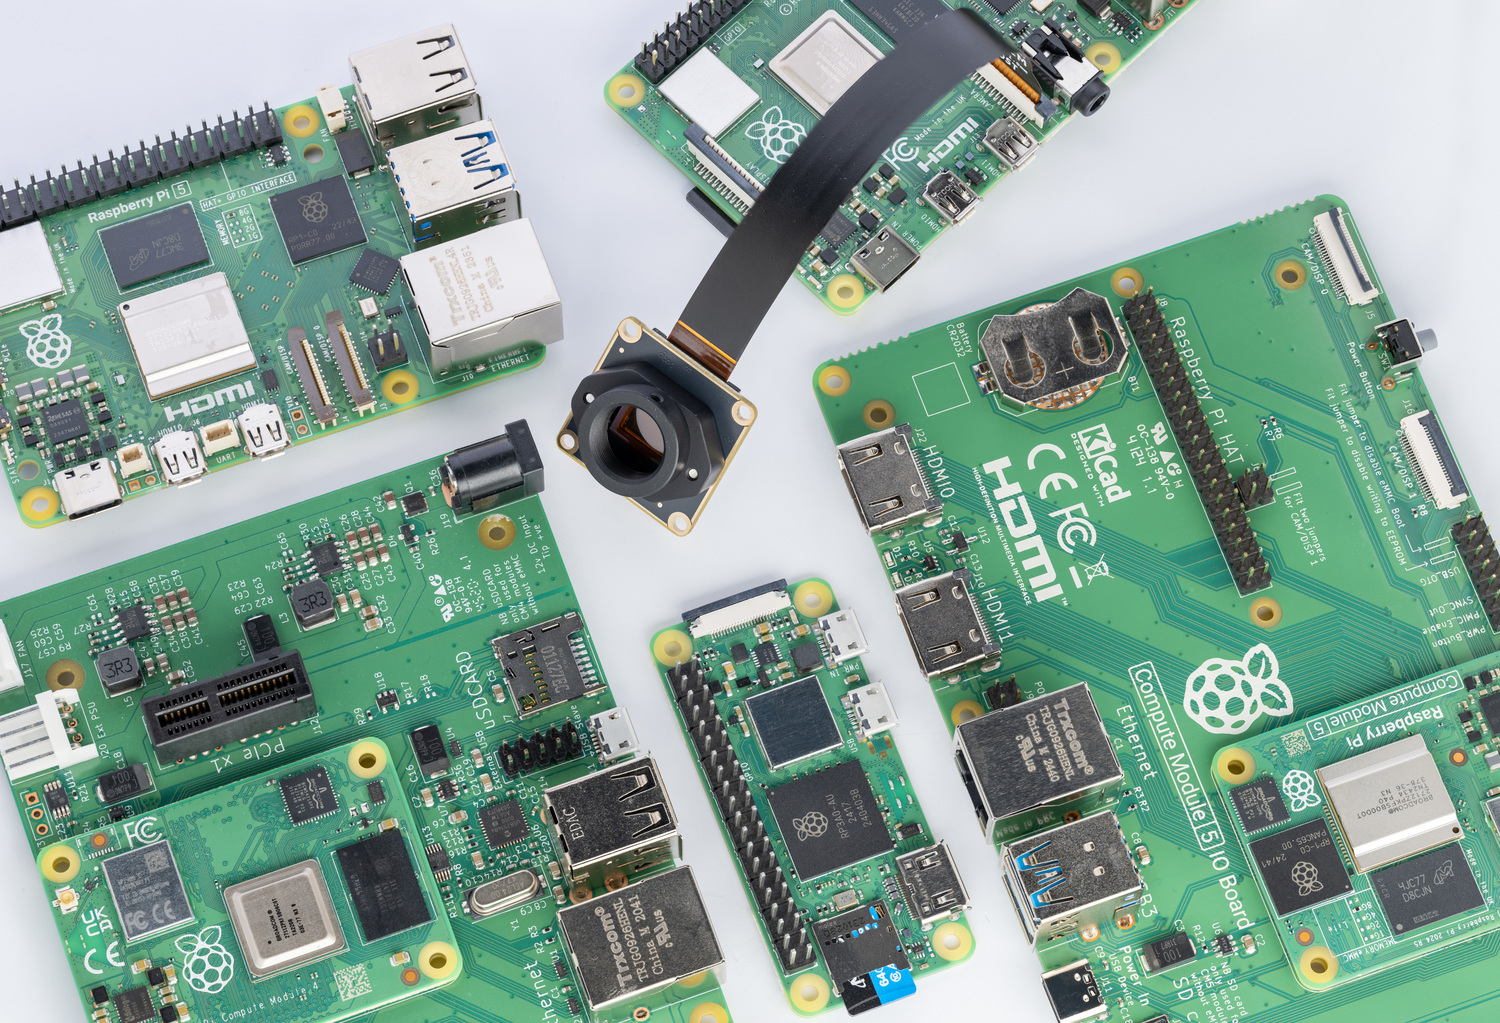
Raspberry Pi 4 uses a 15-pin CSI connector, so a 15-to-22 pin FFC cable is needed to connect the camera. Raspberry Pi 5, Compute Module 4, and Zero 2 W use 22-pin connectors and work with a standard 22-pin FFC cable. Handle all connectors gently – both the Pi and camera can be damaged by force or static discharge.
Once connected, the software setup involves editing the config.txt file to disable automatic camera detection and enable the IMX462 overlay. A typical entry adds dtoverlay=imx462,clock-frequency=37125000 and ensures camera_auto_detect=0 is set. After a reboot, the camera is detected automatically and accessible via standard libcamera tools included in Raspberry Pi OS. With the right cable and a short configuration step, the camera is ready for use in minutes.
Pairing the IMX462 camera with Raspberry Pi enables practical edge applications like smart surveillance, night-time wildlife monitoring, license plate recognition, and robotics vision. It’s also well-suited for offline face recognition, people counting, and other AI tasks where quality, size, and reliability matters.